
Zirconia puzzle: what makes zirconia unique and how to choose the right zirconia
Zirconia may be part of your everyday vocabulary, but how much do you know about this ceramic material? Learn more…


Pulling together for optimal outcomes:
This is accomplished in the restorative team by establishing routines and streamlining communication using checklists.
My dental technician is my best friend and a reliable partner – particularly for indirect restorations. The more complex the rehabilitation, the more we need to rely on one another’s knowledge and expertise. Our success is symbiotic: it can be fruitful or a disaster, depending on the strength and professionalism of our communication. A well-structured bi-directional communication system between office and dental laboratory could be key to successful, high-quality prosthetic results – which is what our patients deserve!
These interactions must take place on multiple levels and regarding every procedure step. The quality of the final outcome is highly dependent not only on the knowledge in the office or laboratory, but also on how information is shared within the restorative team.

Interaction, communication and cooperation with the dental lab should be a continuous process during the complete indirect procedure workflow – starting with material selection.
In the early days of my career, dental technicians supported me in my professional development and taught me many critical aspects of reconstructive dentistry. Their small tricks and tips helped facilitate my procedures and gave me the chance to grow professionally. Thus, from the beginning, I valued strong communication and a strong relationship with my counterpart in the dental laboratory, as equal partners with a common goal – to achieve the best result possible for every patient.
Communication needs to start during treatment planning. Here, the dental technician also acts as a consultant regarding restorative material selection and technical feasibility, with possible technical and material alternatives in mind. It is this important partnership right at the beginning of the treatment – involving dentist, technician and patient – that enables an efficient treatment process even in more complex situations.
Over the years, we evolved an increasingly structured approach to communication. We ended up creating several easy-to-use checklists aimed at different tasks, including esthetics, submitting essential information to the dental laboratory, and delivering the restorations with all required information in the office. By creating these checklists, we could make sure we weren’t overcomplicating the daily routine.
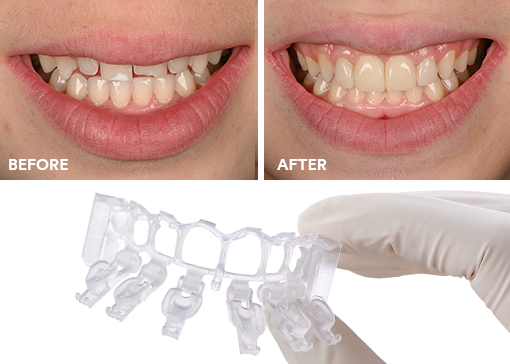
The esthetic checklist, for example, evaluates the basic parameters of esthetics prior to tooth preparation or during try-in, and it is useful for the laboratory technician if they are unable to evaluate the situation in person. The checklist contains the key aspects of a facial, dentilabial, phonetic and dental analysis as well as information about the patient’s expectations. These details, plus additional extraoral and intraoral images, enable the dental technician to accomplish their tasks on a professional level. Furthermore, this structured way of evaluating the clinical situation and taking photos (figures 2 and 3) positively affects the relationship between the dental practitioner and the patient. Try the checklist for yourself, here.

Esthetic try-in of anterior restoration. The esthetic appearance can be evaluated and potential improvements can be determined and discussed with the patient and the team.

Basic esthetic checklist filled out in a couple of minutes.
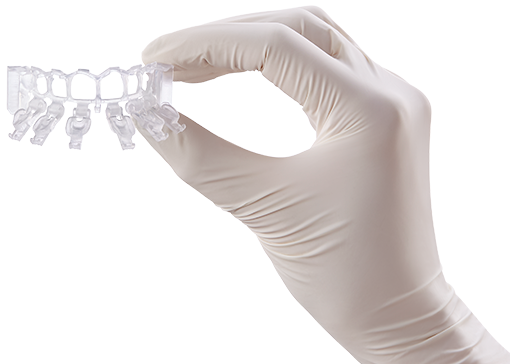
The try-in checklist fulfills a similar task. It is completed at final try-in whenever the dental technician is not present and unable to evaluate the situation themselves. The form offers a structured approach for the try-in session and contains necessary information about the fit of the restoration – including occlusion and interproximal contacts – or implant abutment.
While these checklists are designed to improve the flow of information from the dental office to the laboratory, the “cementation guide” presented in part 2 of our article series is used to transfer essential information from the laboratory into the office. In order to choose suitable resin cement and adhesive cementation protocols, it is important to know which materials have been selected and which pre-treatment measures have already been carried out (e.g. sandblasting, HF etching).
Generally, checklists (highlighting necessary information) combined with a structured communication system (order form) and a comprehensive treatment plan (who does what at what time) can help your team accomplish even the most complex cases step-by step, successfully and predictably.
Bidirectional checklists and structured order forms (lab order documents and delivery forms) help facilitate communication, improve the quality of the final restoration and finally save time – even over longer distances. And this extra time could be spent with a good friend, like your dental technician.


Zirconia may be part of your everyday vocabulary, but how much do you know about this ceramic material? Learn more…
Achieving the correct shape is vital to a natural-looking anterior composite restoration. Learn how the 3M™ Filtek™ Matrix, paired with…
Direct composite restorative procedures can be challenging, particularly when it comes to esthetic cases. Discover how new techniques and tools…