
Clinical Case: Is it possible to do more with less? Cracking the chameleon effect
Using 3M™ Filtek™ Easy Match Universal Restorative.


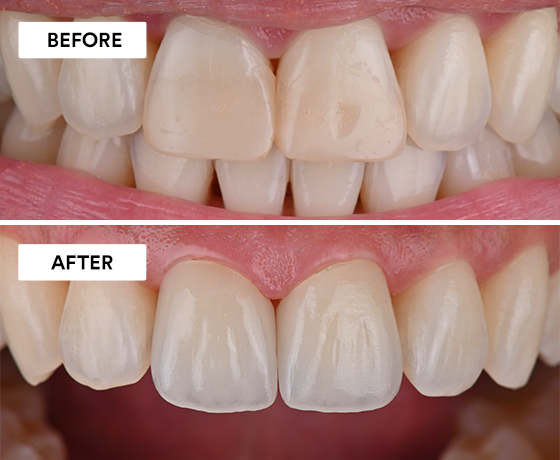
Using 3M™ Filtek™ Supreme XTE Universal Restorative, 3M™ Sof-Lex™ Contouring Polishing Discs, and 3M™ Sof-Lex™ Diamond Polishing System.
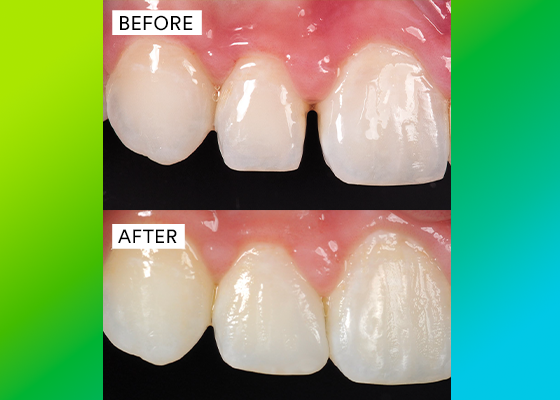
The patient had a post-orthodontic anterior diastema mesial to the right lateral incisor. The challenge was to close the diastema and increase the size of the lateral incisor while maintaining proper contour and esthetics.
Learn more about the products used in this clinical case |

The patient presented with an anterior diastema.

Isolation with a rubber dam pushed the gingiva apically to provide access to the cervical area so a proper anatomical contour and emergence profile could be created.

A mylar strip was used to protect the adjacent tooth from etching. The mesial proximal, facial and lingual areas were etched with 3M™ Scotchbond™ Universal Etchant.
Clinical tip: Protecting Adjacent Teeth
Be sure to use a mylar strip, or other method of your choosing, to protect adjacent teeth during the etching and bonding procedures

To prevent contact of the adhesive with the adjacent tooth, a second mylar strip was placed. Adhesive was applied, scrubbed for 20 seconds, gently air dried for 5 seconds, and light cured* with an LED curing light for 10 seconds.

3M™ Filtek™ Supreme XTE Universal Restorative, shade XWE, was placed in two increments, each light cured for 10 seconds.*

The first increment was placed over the facial aspect of tooth and feathered toward the middle to improve blending. The second increment was placed to fill the diastema’s palatal aspect. A mylar strip helped close the diastema completely.

To begin the contouring and polishing process, the proper length was established with a 3M™ Sof-Lex™ XT Contouring Disc. Then an incisal-facial line angle was formed. Finally, the mesio-facial line angle, and the incisal, facial and palatal embrasures, were defined.

Once contoured, the surface characterization of the adjacent teeth was copied onto the restoration using a fine diamond (not shown).

Finishing and polishing was completed in two steps. First, a 3M™ Sof-Lex™ Pre-Polishing Spiral was used to remove scratches and prepare the composite for final polish.

Next, a 3M™ Sof-Lex™ Diamond Polishing Spiral was used to impart a smooth, high-gloss polish. Lastly, the proximal surface was polished with 3M™ Sof-Lex™ Finishing and Polishing Strips.

Upon finishing the restoration, the patient was very satisfied with the ideal contour, surface smoothness and life-like luster.

The patient returned one week later for a final post-operative appointment and was very satisfied with the final restoration.
Refer to Instructions for Use (IFU) for complete product information. Results may vary.
* Light cured according to the manufacturer’s guidelines.
Clinical dentistry and photography by Dr. Marcos Vargas (Iowa City, Iowa, USA).
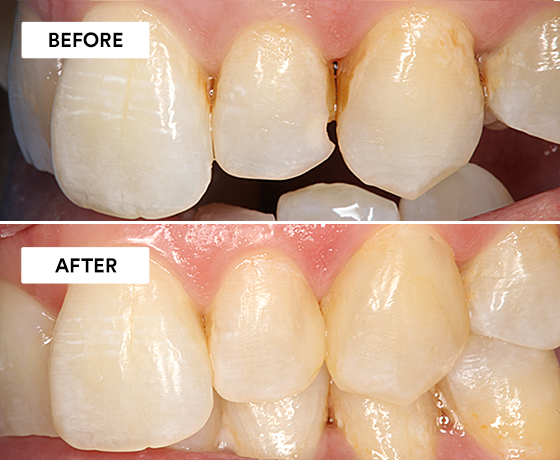
Using 3M™ Filtek™ Easy Match Universal Restorative.
Using 3M™ Imprint™ 4 Light VPS Material, 3M™ Intra-oral Syringe, 3M™ Imprint™ 4 Heavy VPS Material, 3M™ Protemp™ 4 Temporization…
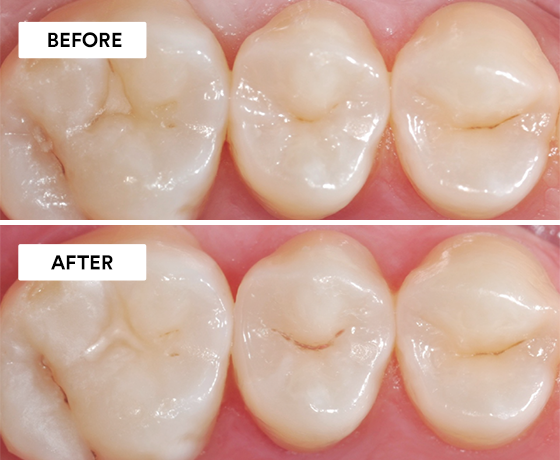
Using 3M™ Scotchbond™ Universal Etchant, 3M™ Scotchbond™ Universal Adhesive, 3M™ Elipar™ DeepCure-S LED Curing Light, 3M™ Filtek™ One Bulk Fill…