
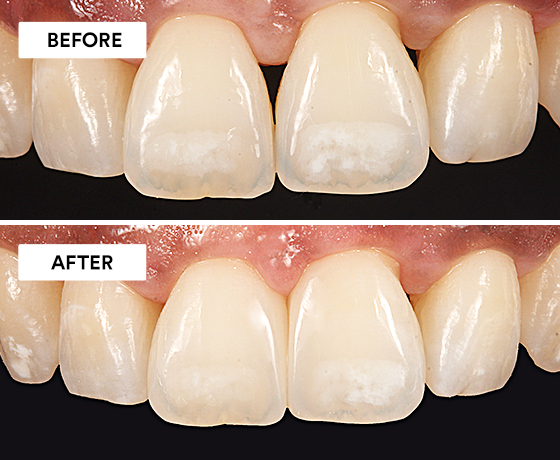
Clinical Case: Black Triangle Closure Using Bioclear© BT Matrices
Using 3M™ Single Bond Universal Adhesive, 3M™ Filtek™ Supreme Flowable Restorative, 3M™ Filtek™ Universal Restorative, 3M™ Elipar™ Deep Cure-S LED…

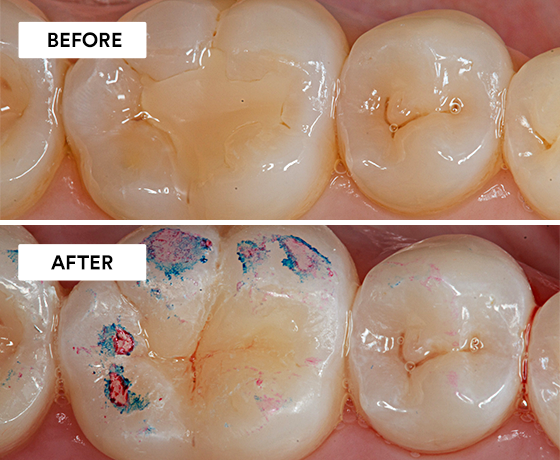
Restoring posterior teeth with composite is often complicated. The essential lines technique presented in this article will help you simplify the procedure.
The reproduction of the natural occlusal anatomy is one of the most challenging and decisive steps in restoring posterior teeth. Cusp-by-cusp modelling can be time-consuming and laborious, while a flat layer of composite does not look like a natural tooth surface. Knowing that lines are a powerful instrument, which allows us to fool the eye and manipulate the appearance of an object, we identified the universal characteristics of the fissures for each posterior tooth position. By drawing them into the composite, a natural appearance is created.

Initial situation: The amalgam restoration on the mandibular first molar needs to be replaced.

Safety measure: Silicon index used to copy the shape of the tooth.

Clinical situation after tooth preparation. The space created was leveraged for the restoration of two small proximal lesions in the adjacent teeth.

Selective etching of the enamel with phosphoric acid gel.

Application of a one-bottle universal adhesive (3M™ Scotchbond™ Universal Adhesive) according to the instructions for use.

Build-up of the proximal walls with 3M™ Filtek™ One Bulk Fill Restorative. The use of a black sectional matrix helps to ensure the proper wall thickness.

Cavity filled with bulk fill restorative. The material may be placed in layers of up to 5 mm thickness, provided that the specific light-curing protocol recommended by the manufacturer is observed.
For Class II restorations with an increment depth of 5 mm, recommendations are as follows:
Halogen Lights (with output of 550 to 1000 mW/cm2):
20 seconds occlusal
20 seconds buccal
20 seconds lingual
LED Lights (with output of 1000 to 2000 mW/cm2):
10 seconds occlusal
10 seconds buccal
10 seconds lingual

Tooth after the use of the LM-Arte Condensa instrument (LM Dental), which enables the dental practitioner to copy the inclination of the remaining cusp tissue.

Essential lines of the mandibular first molar.

Central point of the fissures marked on the restoration surface.

Drawing of the essential lines from the center to the remaining fissures in the marginal areas.

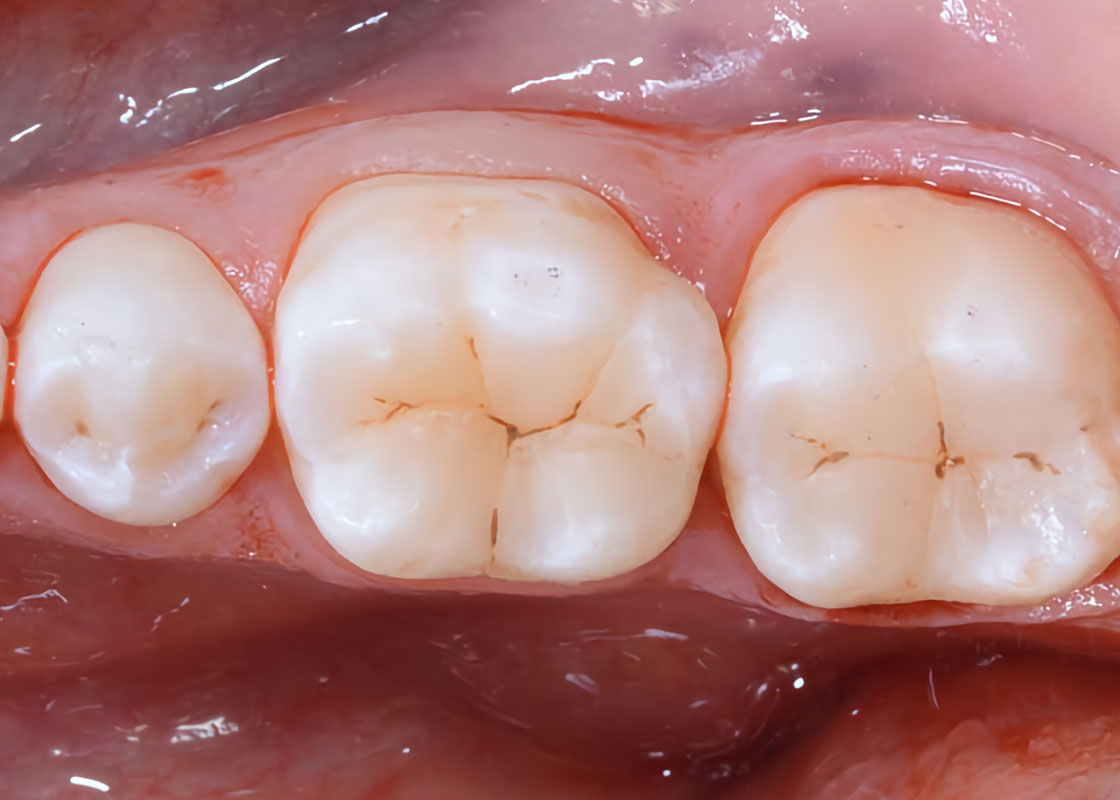
Outcome of the procedure.

Effect of fissure staining with a drop of brown tint using a fine brush (Compo-Brush, Smile Line).

Situation after polishing with the 3M™ Sof-Lex™ Diamond Polishing System.

Final treatment result.
The present case shows that the concept is easily implemented in everyday procedures. The knowledge of essential lines helps us to reduce the effort and time involved in the creation of functional and beautiful posterior restorations. The concept works similarly for all molars and premolars in the maxilla and mandible, provided that the position-specific essential lines are used.

Using 3M™ Single Bond Universal Adhesive, 3M™ Filtek™ Supreme Flowable Restorative, 3M™ Filtek™ Universal Restorative, 3M™ Elipar™ Deep Cure-S LED…
Using 3M™ Scotchbond™ Universal Adhesive, 3M™ Filtek™ One Bulk Fill Restorative, and the 3M™ Sof-Lex™ Spiral Finishing and Polishing system.
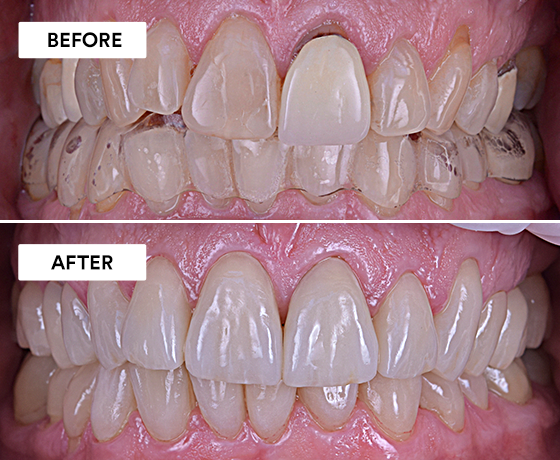
Using 3M™ Protemp™ 4 Temporization Material, 3M™ Scotchbond™ Universal Plus Adhesive, and 3M™ RelyX™ Universal Resin Cement.