
Clinical Case: Is it possible to do more with less? Cracking the chameleon effect
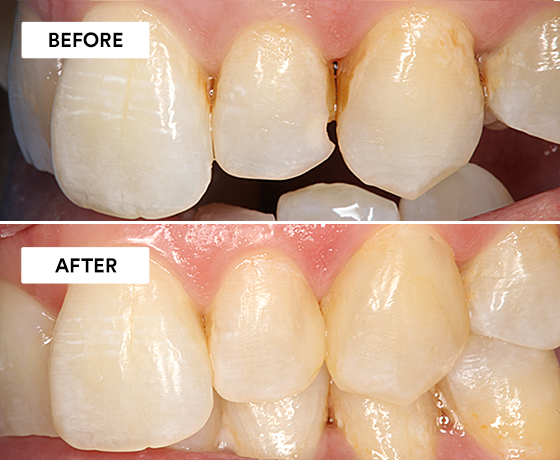
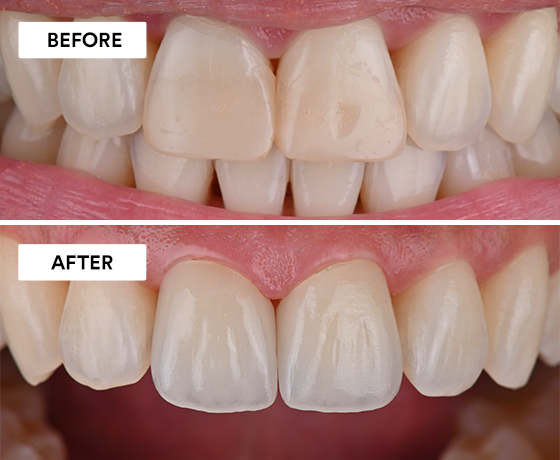
Using 3M™ Filtek™ Easy Match Universal Restorative.


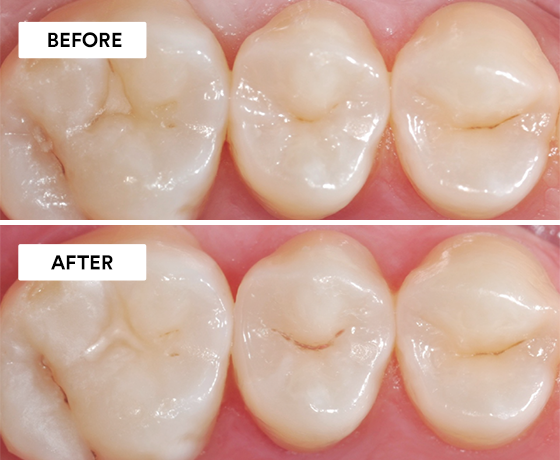
Using 3M™ Scotchbond™ Universal Adhesive, 3M™ Scotchbond™ Universal Etchant, and 3M™ Filtek™ One Bulk Fill Restorative.
With the availability of highviscosity bulk fill materials, a laborious cusp-by-cusp build-up of a posterior tooth’s occlusal anatomy is no longer necessary in the context of direct posterior restoration procedures. Instead, it is sufficient in many cases to fill the cavity in one single step. Subsequently, the natural occlusal surface structure is restored using the essential lines technique developed by StyleItaliano.
Only two specific instruments and one bulk fill composite are required for this technique. Important material properties are easy sculptability and nonstickiness, as they enable the dental practitioner to remove the exact amount of material needed when modelling the surface and integrating the fissures. Due to the simplicity of the protocol and a reduction of the number of treatment steps made possible by an elimination of the need for layering or a cusp-by-cusp modelling, significant treatment time savings are achieved. The following case example is used to demonstrate the simplicity of the procedure. The material of choice was 3M™ Filtek™ One Bulk Fill Restorative, which offers the desired sculpting properties and a great surface quality.
Learn more about the products used in this clinical case
|

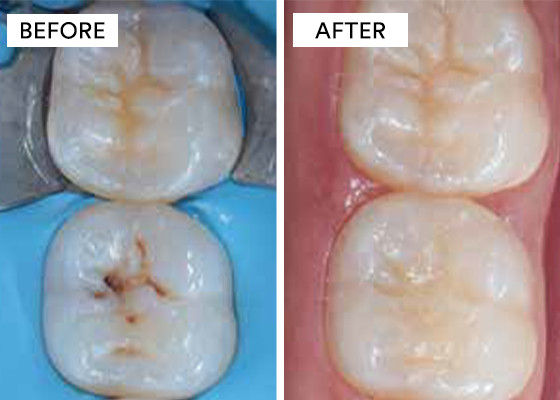
Initial situation with the maxillary first molar affected by caries.

Cavity after caries excavation and preparation with only a small area with exposed dentin.

Selective enamel etching with 3M™ Scotchbond™ Universal Etchant for 15 seconds. Subsequently, 3M™ Scotchbond™ Universal Adhesive was applied to the tooth surface, rubbed in for 20 seconds and gently air dried to remove the solvents.

Situation after the application of 3M™ Filtek™ One Bulk Fill Restorative into the cavity in a single layer (the maximum layer thickness is 5 mm). The natural surface anatomy was imitated using the Condensa instrument (LM Arte), which was placed on the surface and rolled along the remaining cusps, thereby following their natural inclination. As it is not yet cured, the composite still appears slightly too translucent.

The essential lines identified by Style Italiano for maxillary first molars drawn into the composite surface using the Fissura instrument (LM Arte). The best results are obtained if the instrument is not pulled through the material, but repeatedly dipped into it.

Checking the occlusal contacts after light-curing of the restored surface according the protocol recommended by the material manufacturer.

Treatment result with a natural appearance. The opacity of the bulk fill material has increased after curing and a great optical integration is obtained.
Refer to Instructions for Use (IFU) for complete product information. Results may vary.

Using 3M™ Filtek™ Easy Match Universal Restorative.
Using 3M™ Imprint™ 4 Light VPS Material, 3M™ Intra-oral Syringe, 3M™ Imprint™ 4 Heavy VPS Material, 3M™ Protemp™ 4 Temporization…
Using 3M™ Scotchbond™ Universal Etchant, 3M™ Scotchbond™ Universal Adhesive, 3M™ Elipar™ DeepCure-S LED Curing Light, 3M™ Filtek™ One Bulk Fill…