
Clinical Case: Easily Matching a Class V Non-Cervical Carious Lesion
Using 3M™ Filtek™ Easy Match Universal Restorative, and 3M™ Scotchbond™ Universal Plus Adhesive.


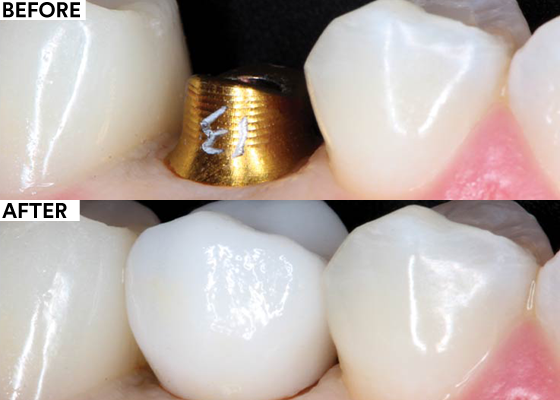
Using 3M™ RelyX™ Luting Plus Resin Modified Glass Ionomer Cement.
Cemented implant restorations are a well proven and viable treatment option, particularly for single units. The guidance provided in these case steps can help minimize potential issues related to excess cement.

Margin should not be more than 1 mm subgingival.

Inject a small to moderate amount of 3M™ RelyX™ Luting Plus Resin Modified Glass Ionomer Cement directly into the crown.

A small amount of cement should extrude during crown seating.

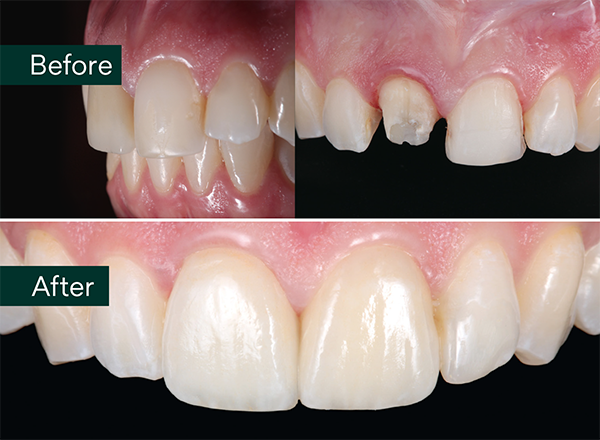
FINAL RESULTS: Final finished crown after tack cure and excess cement removal.
Refer to Instructions for Use (IFU) for complete product information. Results may vary.
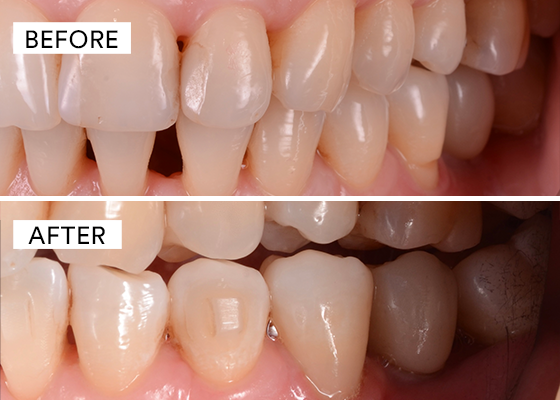
Using 3M™ Filtek™ Easy Match Universal Restorative, and 3M™ Scotchbond™ Universal Plus Adhesive.
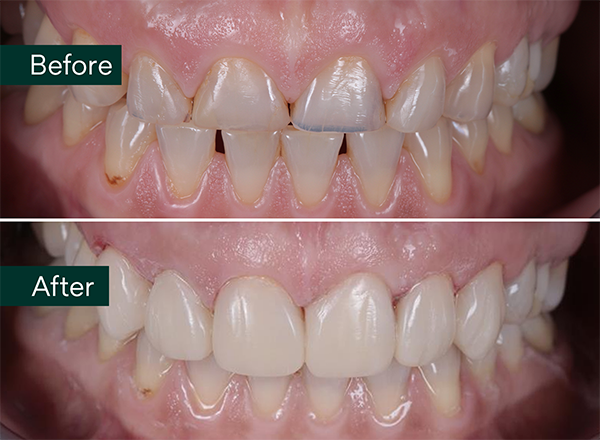
Using 3M™ Scotchbond™ Universal Plus Adhesive, 3M™ Filtek ™ Universal Restorative.
Using 3M™ Scotchbond™ Universal Plus Adhesive, 3M™ RelyX™ Universal Resin Cement, and 3M™ RelyX™ Try-in Paste.