
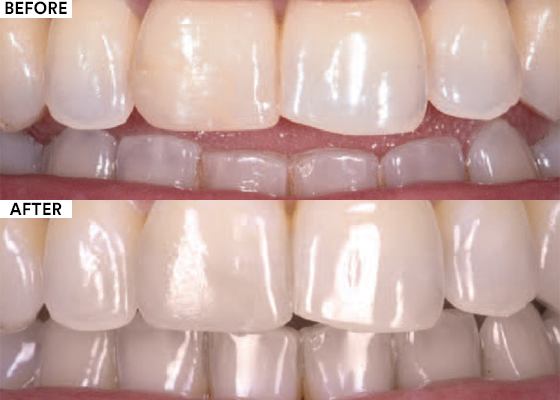
Clinical Case: Black Triangle Closure Using Bioclear© BT Matrices
Using 3M™ Single Bond Universal Adhesive, 3M™ Filtek™ Supreme Flowable Restorative, 3M™ Filtek™ Universal Restorative, 3M™ Elipar™ Deep Cure-S LED…

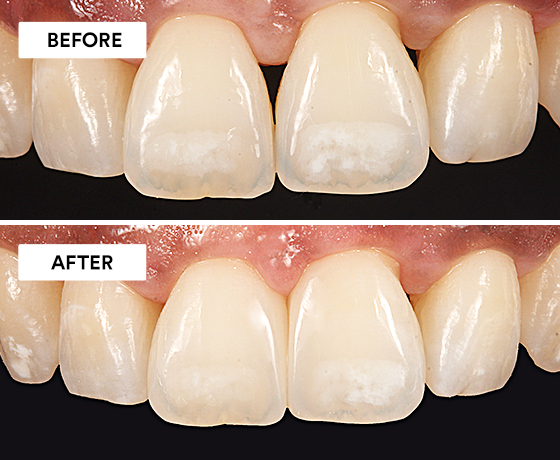
Replacement of a restoration on the upper right central incisor.
When replacing a dental restoration, it is important to achieve good optical integration, so the patient is satisfied with the result.
In detailed steps, this case study shows the successful replacement of a restoration on the upper right central incisor of a young female patient. A variety of techniques are demonstrated: precisely matching the colour and natural translucency in the incisal aspect of the adjacent tooth; simplifying the build-up of the palatal and proximal wall; reproducing a natural shape and texture in the final stages of the replacement procedure. Good optical integration is ultimately achieved, resulting in a happy patient.

Initial situation. The young female patient asks for the replacement of her restoration on tooth 11 (FDI notation). This restoration has an inadequate shape and colour.

Photography helps us to match colour. With the StyleItaliano™ recipes available for 3M™ Filtek™ Supreme XTE Universal Restorative, we are able to reproduce VITA® classical A1–D4 shade guide (VITA Zahnfabrik) colours. In this case, we will have to use the combination A3E for the enamel and A3D for the dentine.

StyleItaliano™ recipes for precise reproduction of the A-shades of the VITA® classical A1-D4 shade guide with 3M™ Filtek™ Supreme XTE Universal Restorative.

Cross-polarised photography reveals the internal structure of the teeth. In this case, it shows us that we will have to use some translucent effects on the incisal edge to copy the appearance of the adjacent natural tooth.

Situation after the placement of rubber dam, which is mandatory when doing restorative and adhesive dentistry

After removal of the old restoration, tooth preparation is carried out and the prepared tooth surface has to be polished carefully.

In this frontal view of the preparation, a buccal chamfer is visible. It will support the practitioner in achieving an aesthetic integration of the restoration with the natural tooth.

After bonding with 3M™ Scotchbond™ Universal Adhesive used, the palatal wall is built up with 3M™ Filtek™ Supreme XTE Universal Restorative in the shade A3E by use of a silicone key.

Metal matrix used in a vertical way. This simplifies the build-up of the proximal wall with the selected universal restorative in the shade A3E.

Sculpturing of the dentine mamelons is carried out with the Fissura instrument (LM Arte). Before, the A3D dentine layer was applied, excess material was removed and a controlled layer thickness of 0.5 mm ensured using the Misura instrument (LM Arte).

The natural translucency in the incisal aspect of the adjacent tooth is imitated by placing a thin layer of composite in the Clear Translucent Shade on top of the dentine. Here, it is already covered by the final enamel layer created with A3E.

The finishing and polishing procedure starts with the drawing of lines used to facilitate the definition and reproduction of the natural shape and texture.

Outcome of the finishing and polishing procedure with the rubber dam still in place.

Post-operative situation. An aesthetic result with a good optical integration is obtained.
Refer to instructions for use for complete product information. Results may vary.

Using 3M™ Single Bond Universal Adhesive, 3M™ Filtek™ Supreme Flowable Restorative, 3M™ Filtek™ Universal Restorative, 3M™ Elipar™ Deep Cure-S LED…
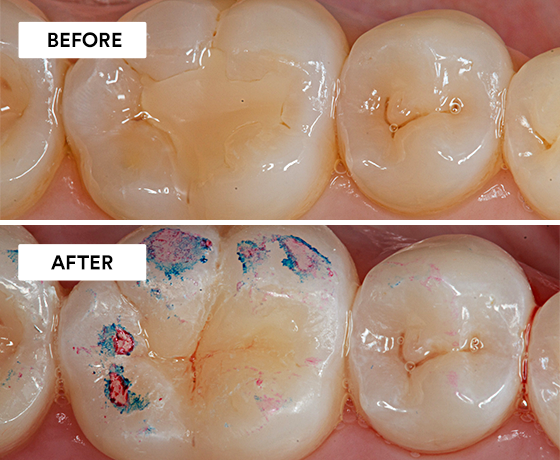
Using 3M™ Scotchbond™ Universal Adhesive, 3M™ Filtek™ One Bulk Fill Restorative, and the 3M™ Sof-Lex™ Spiral Finishing and Polishing system.
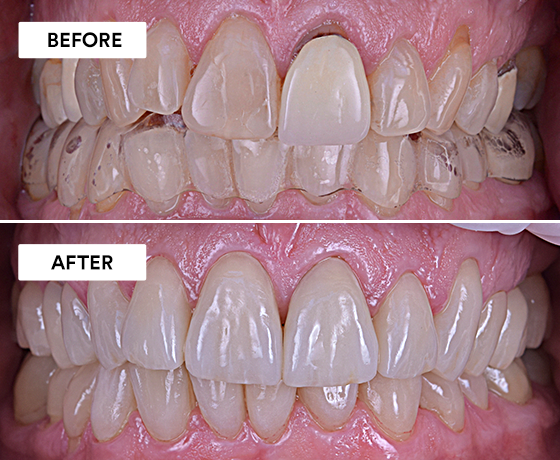
Using 3M™ Protemp™ 4 Temporization Material, 3M™ Scotchbond™ Universal Plus Adhesive, and 3M™ RelyX™ Universal Resin Cement.